Your First Tenure
When you open a new document, you will be walked through the steps below. To access these sheets in the future, use the Document menu.
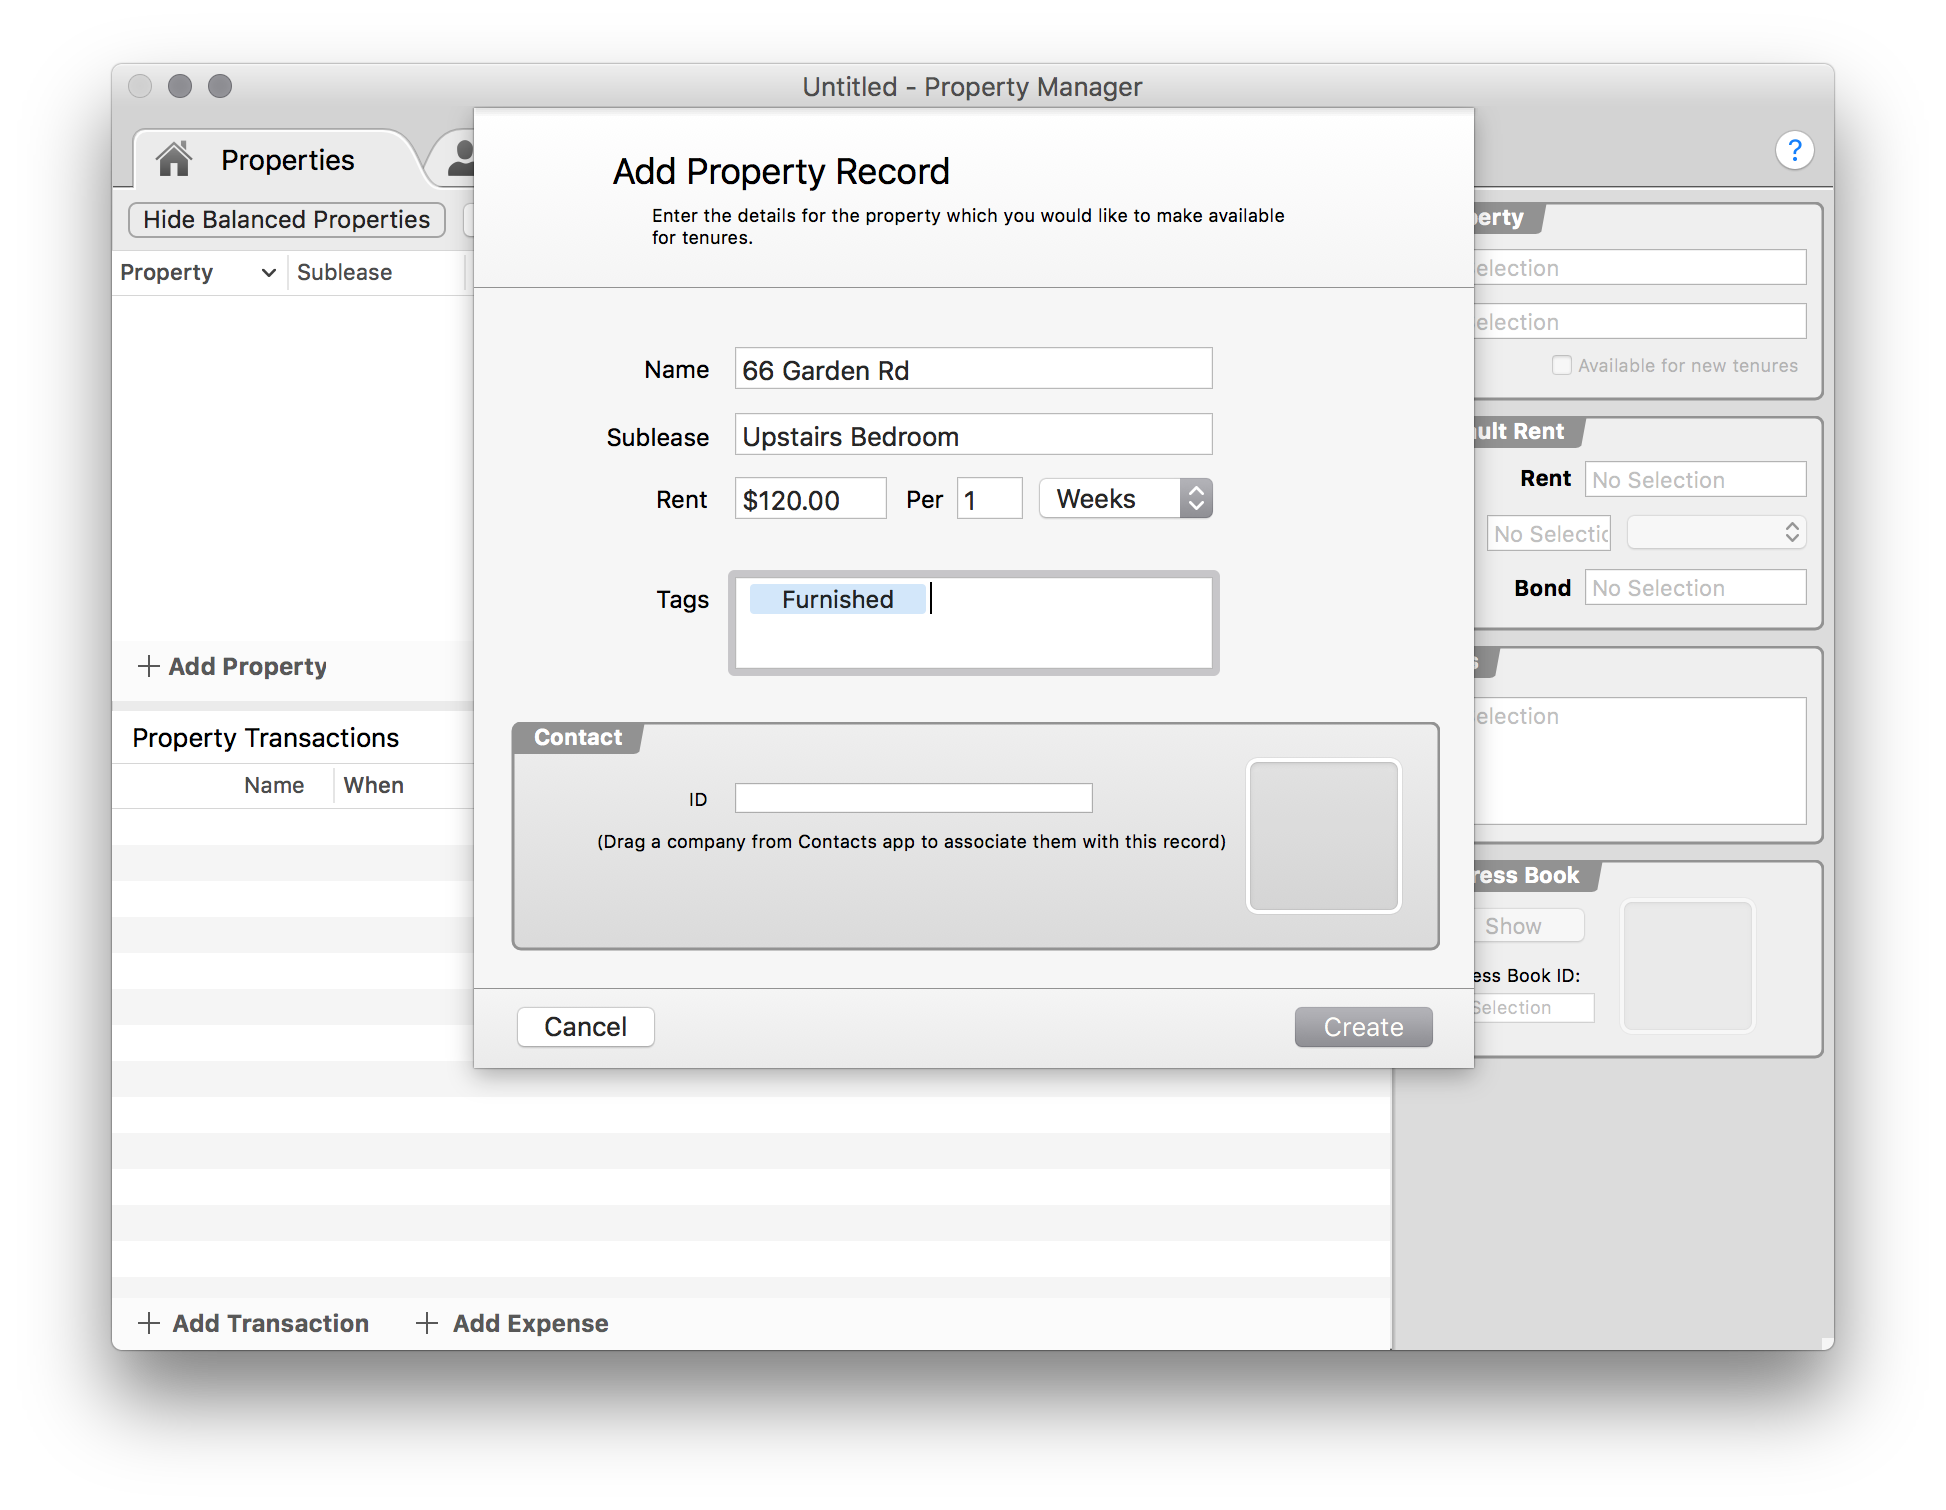
Step 1: Add Property
Fill in the details for the If you have a entry in the Contacts app, you can drag this into the Contact box at the bottom of the sheet. This will automatically fill in all available details including the picture.
Step 2: Add Tenant
Fill in the details for the tenant. Here, I dragged my own record from Contacts app.
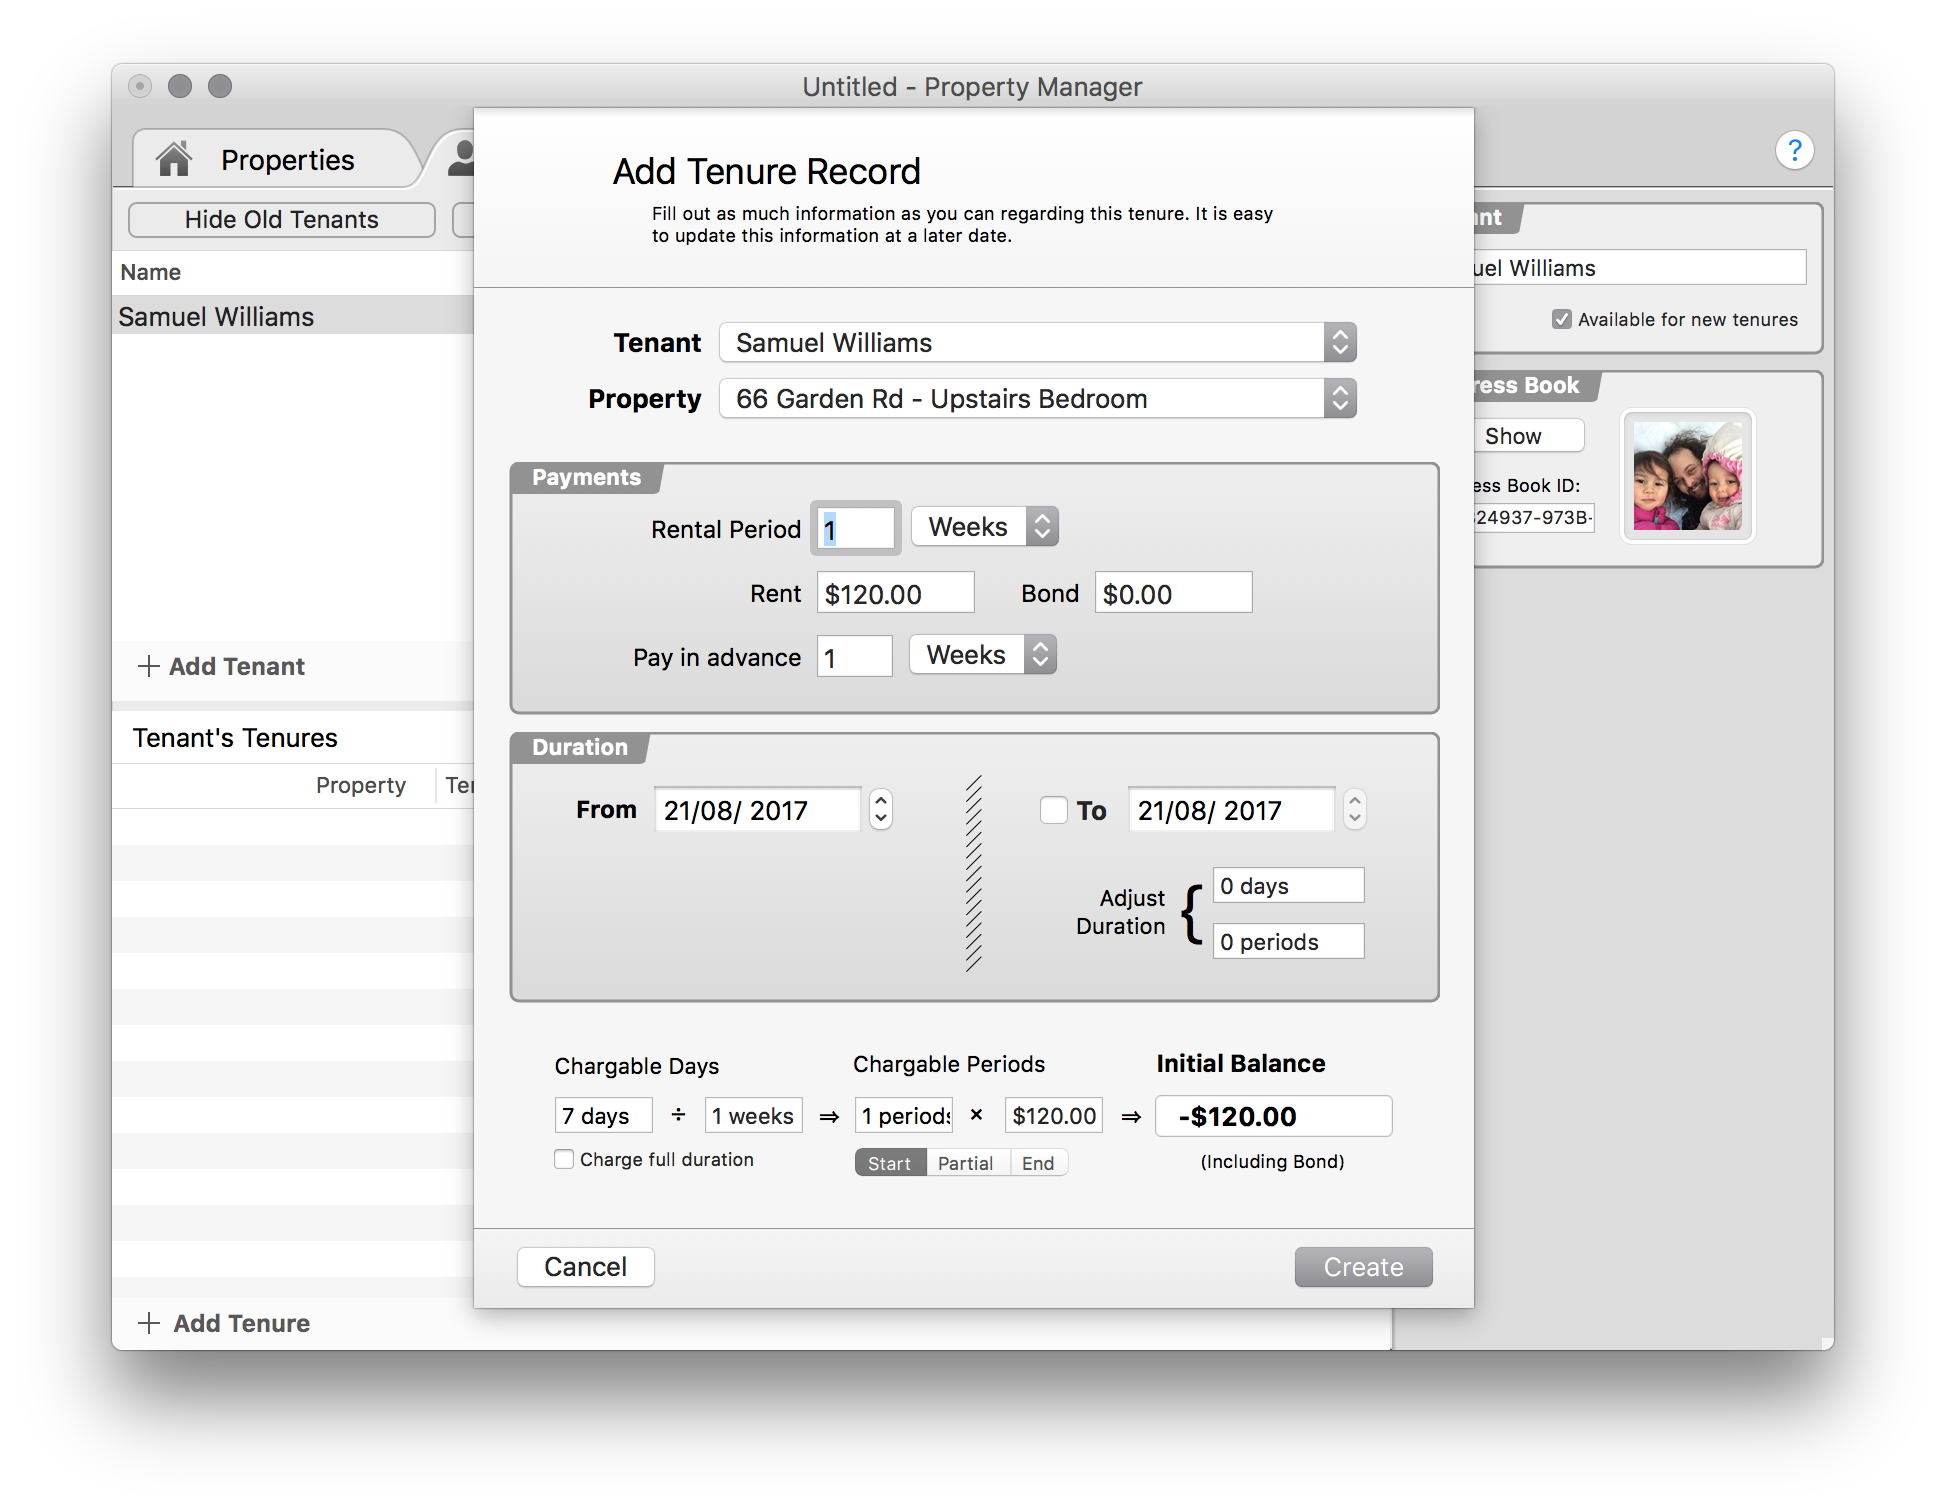
Step 3: Add Tenure
Fill in the appropriate details — in this case I have selected the property and the tenant we just created, adjusted the payment details and the duration, and deselected the Charge full duration option.
You can specify the following details:
- Tenant
- The tenant that will be responsible for the tenure.
- Property
- The property that the tenant will occupy for the duration of the tenure.
- Rental Period
- The period that the rental payment covers, e.g. 1 week, 3 months, etc.
- Rental Amount
- The amount the tenant is required to pay per rental period.
- Pay in advance
- Rental payment is due at the end of the period by default. You can specify how far in advance they need to pay. If a tenant is paying 3 monthly, but has a 1 month advance, payment will become due 2 months into the rental period.
- From
- The date the tenant will begin the tenancy.
- To (optional)
- The date the tenant will end the tenancy.
- Charge full duration
- If the end date is specified, the full balance for the tenure is due. This can be useful for fixed-term tenancies.
- Chargable Periods
- Controls how partial periods are billed. The three options are Start, Partial and End which roughtly translate to "round down", "exact" and "round up". This is mostly useful at the point a tenant moves out. If they move out half way through a rental period, you can choose how to round the last payment.